hank you for your interest in Surfix Trailer Bunk Glides. Our glides are solid material, so they won't crush under the weight of the craft; however, you need to be able to control the momentum in loading and unloading with your winch and lateral movement on the trailer with straps. Never disconnect hull until the craft can safely enter the water.
All edges meeting the watercraft are rounded.
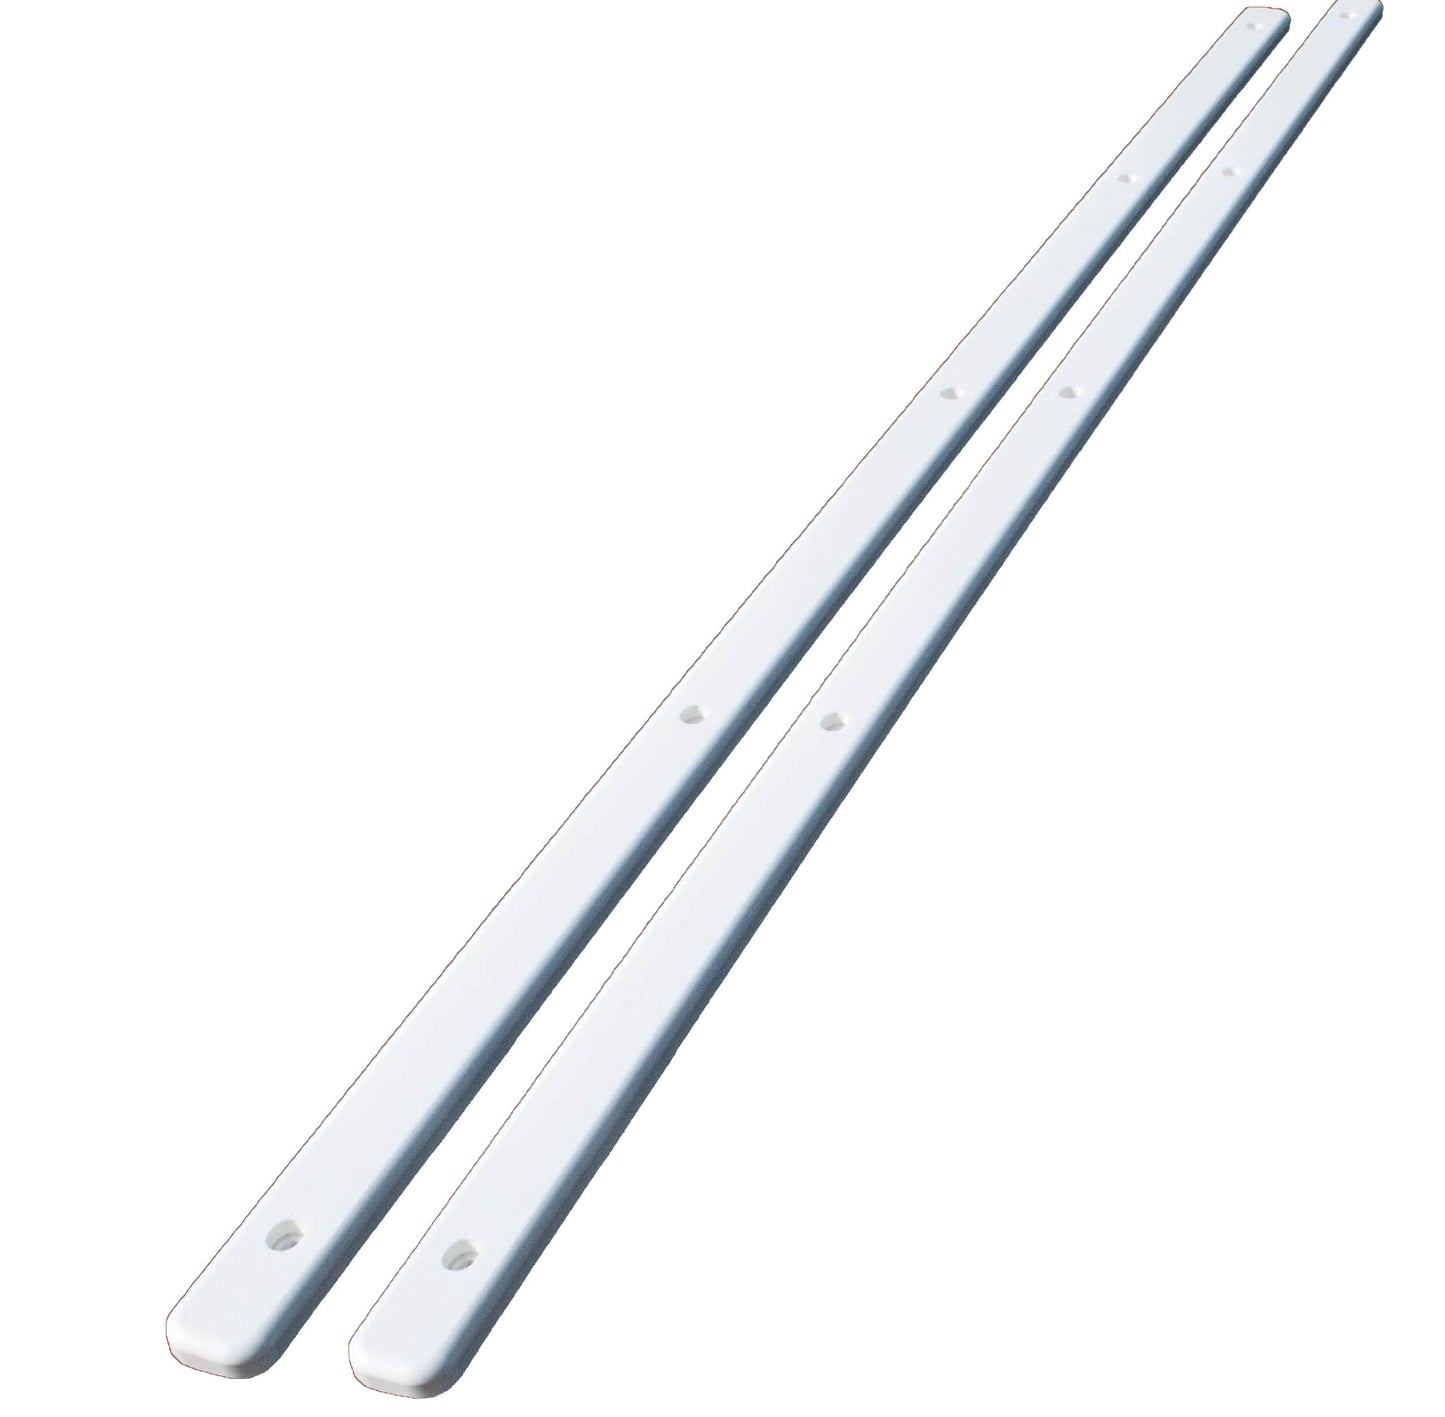
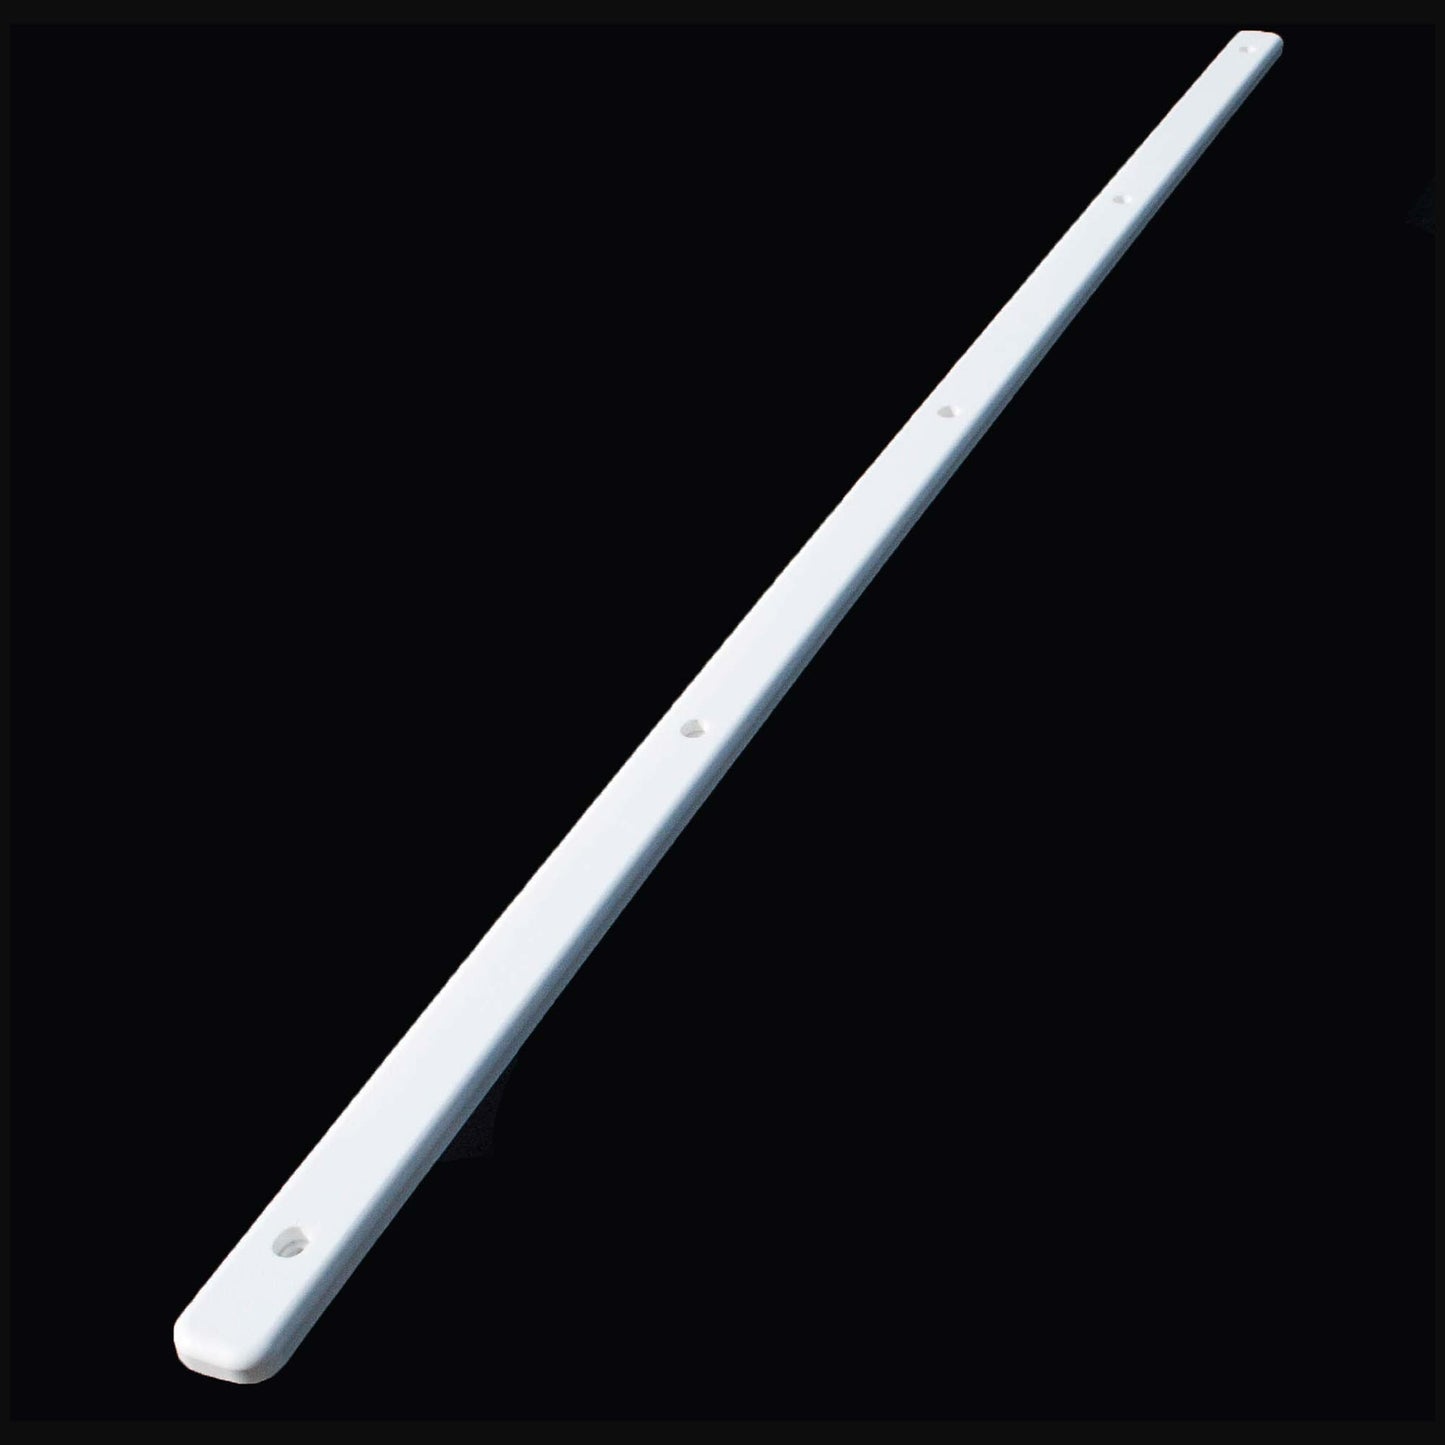
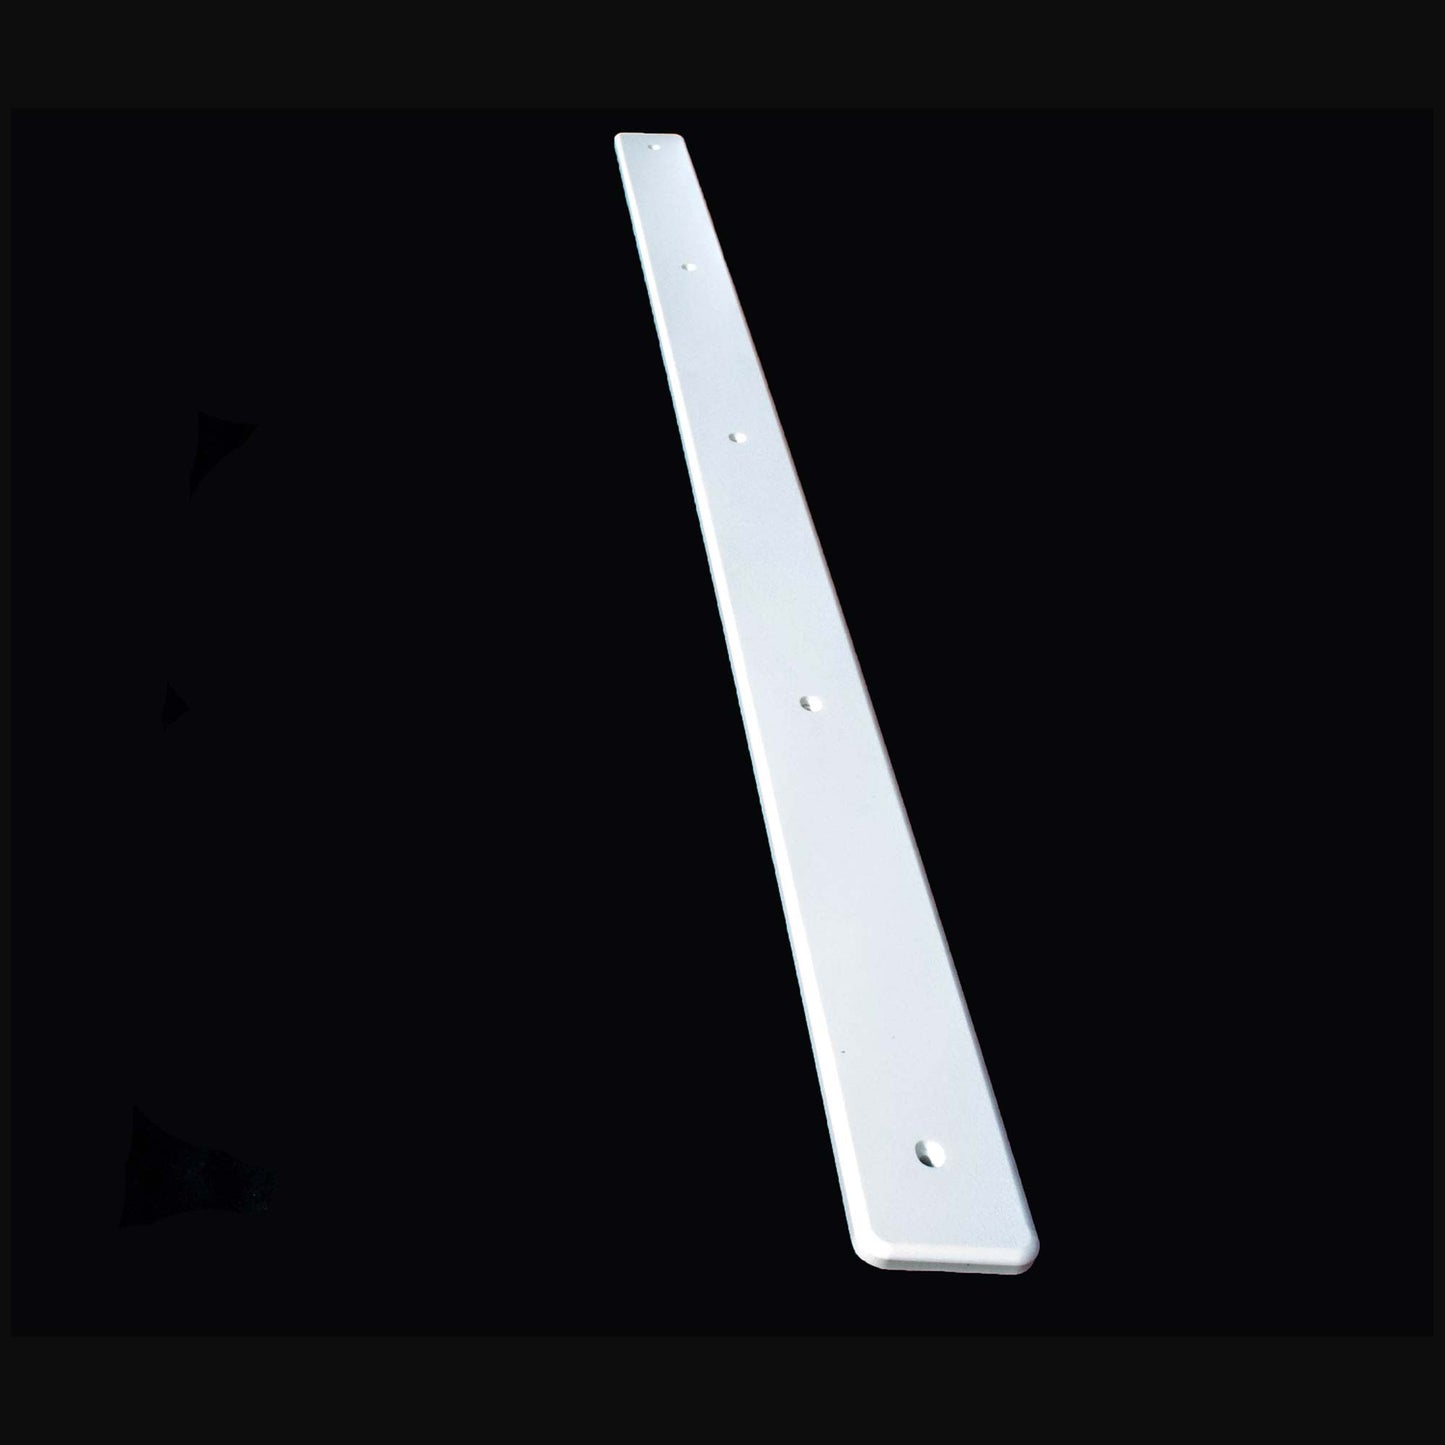
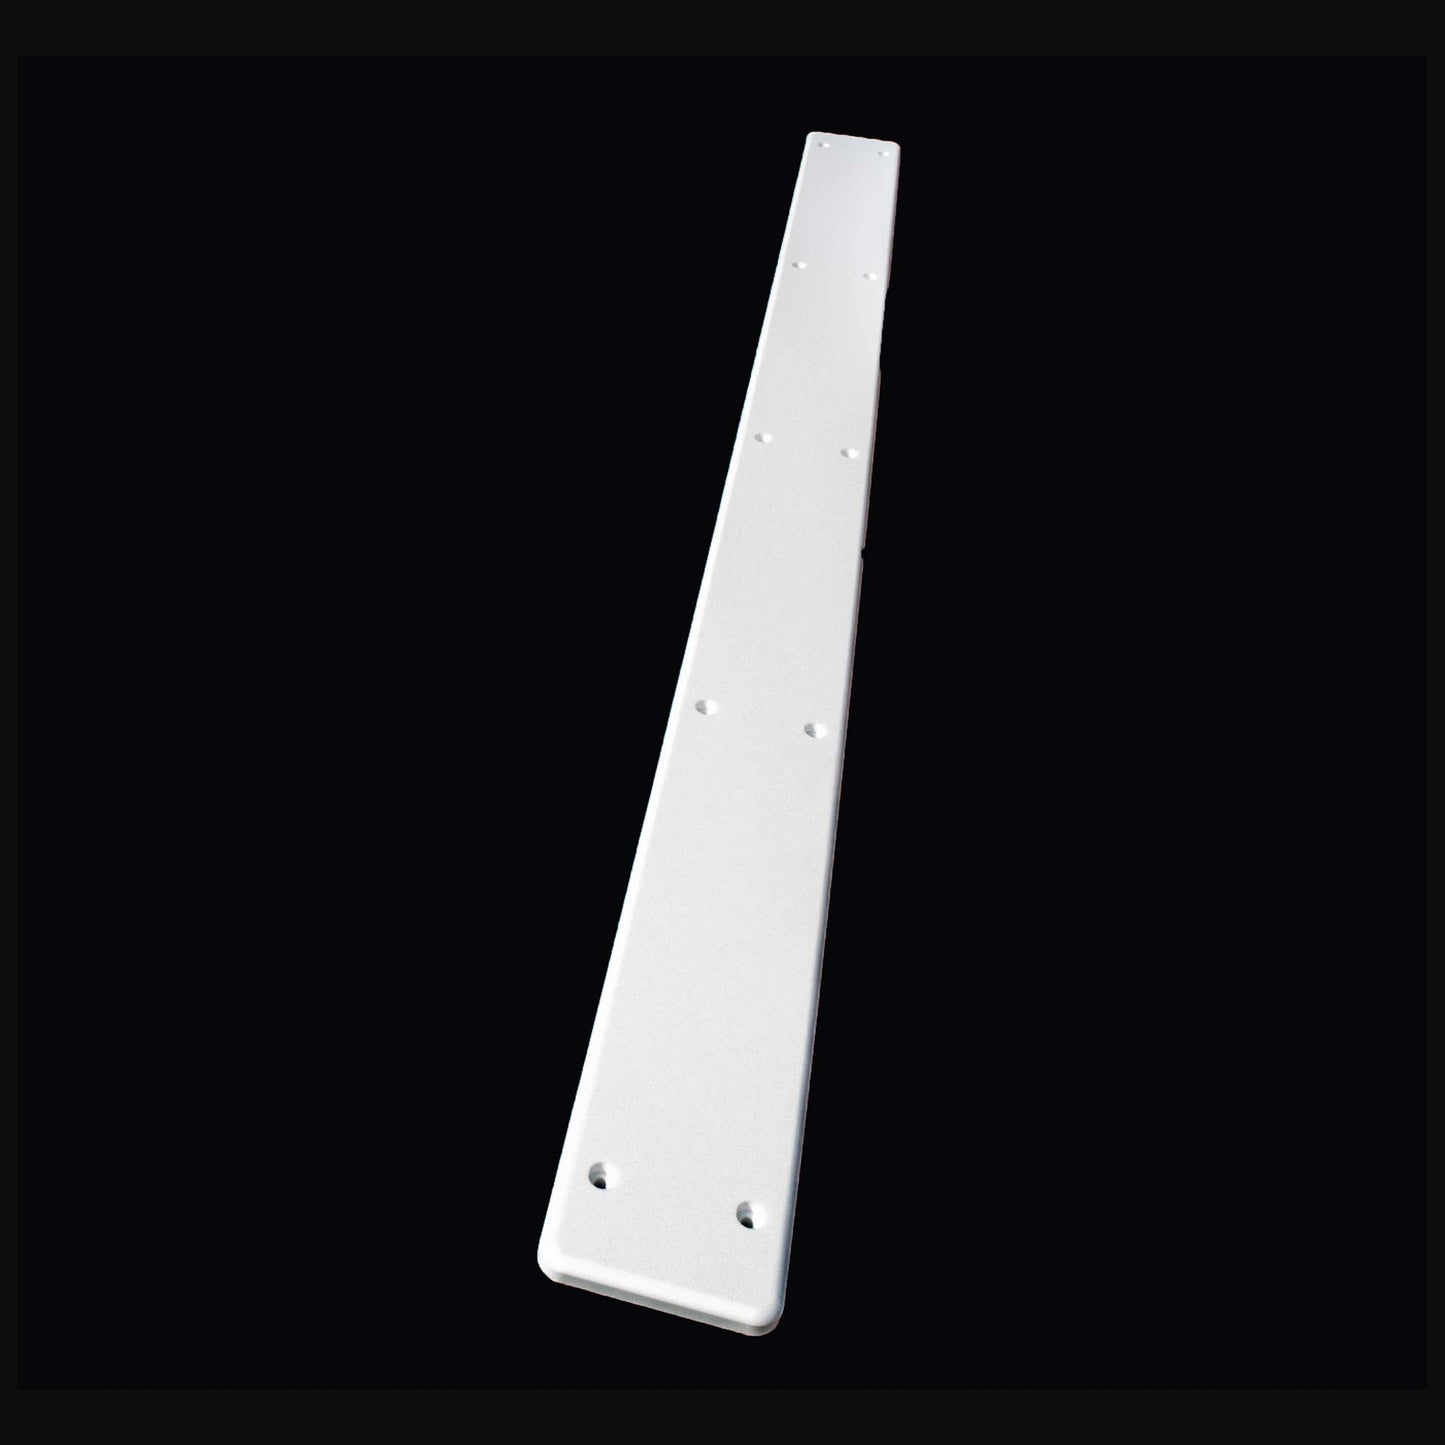
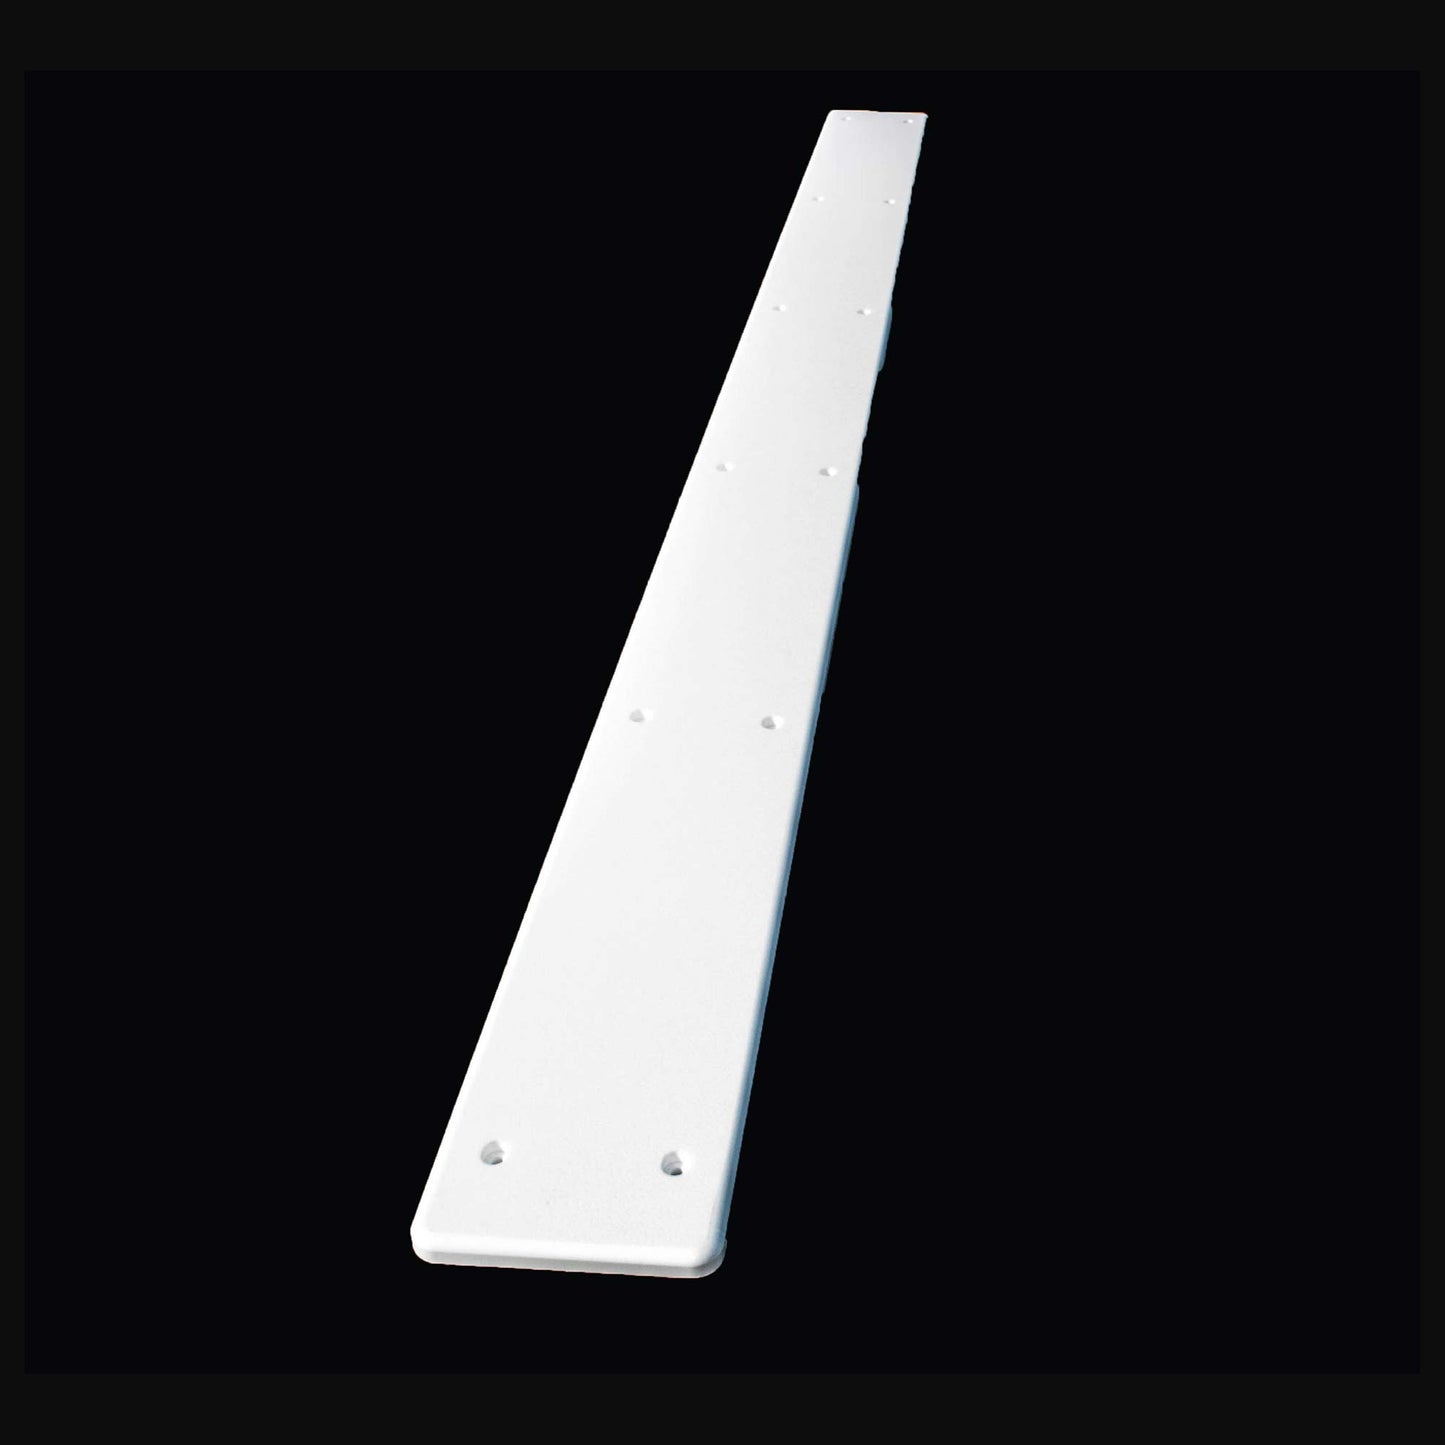
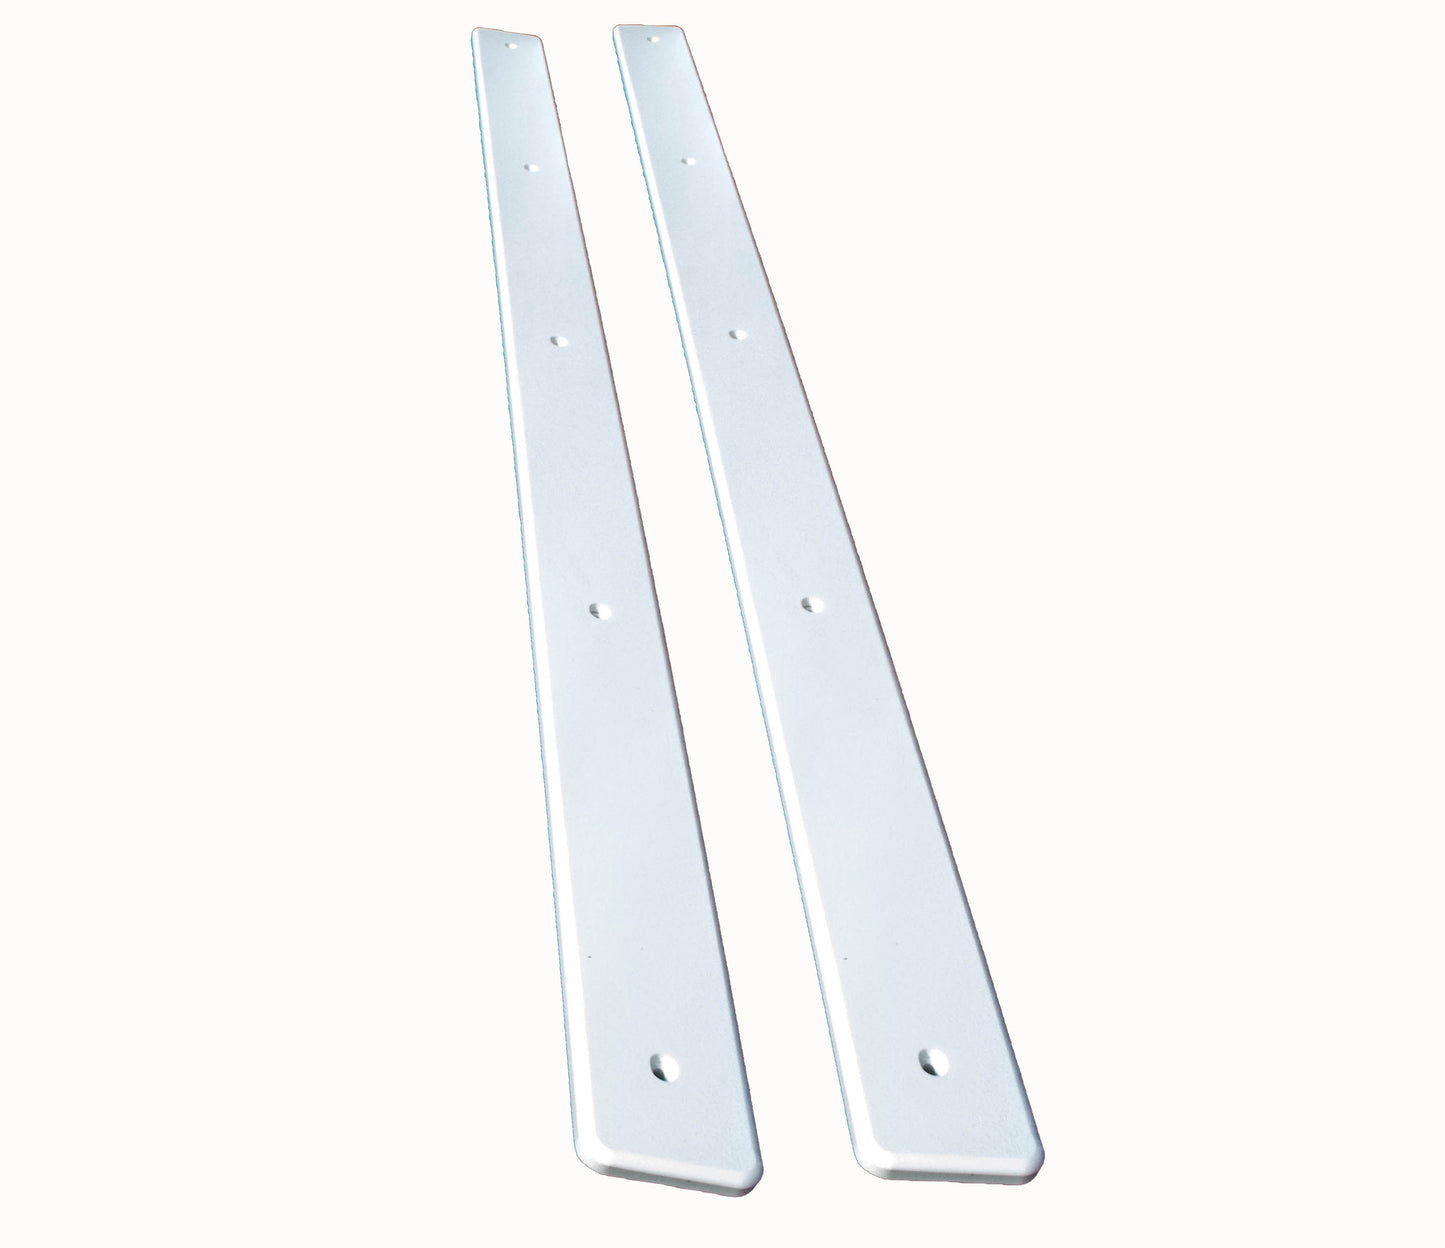
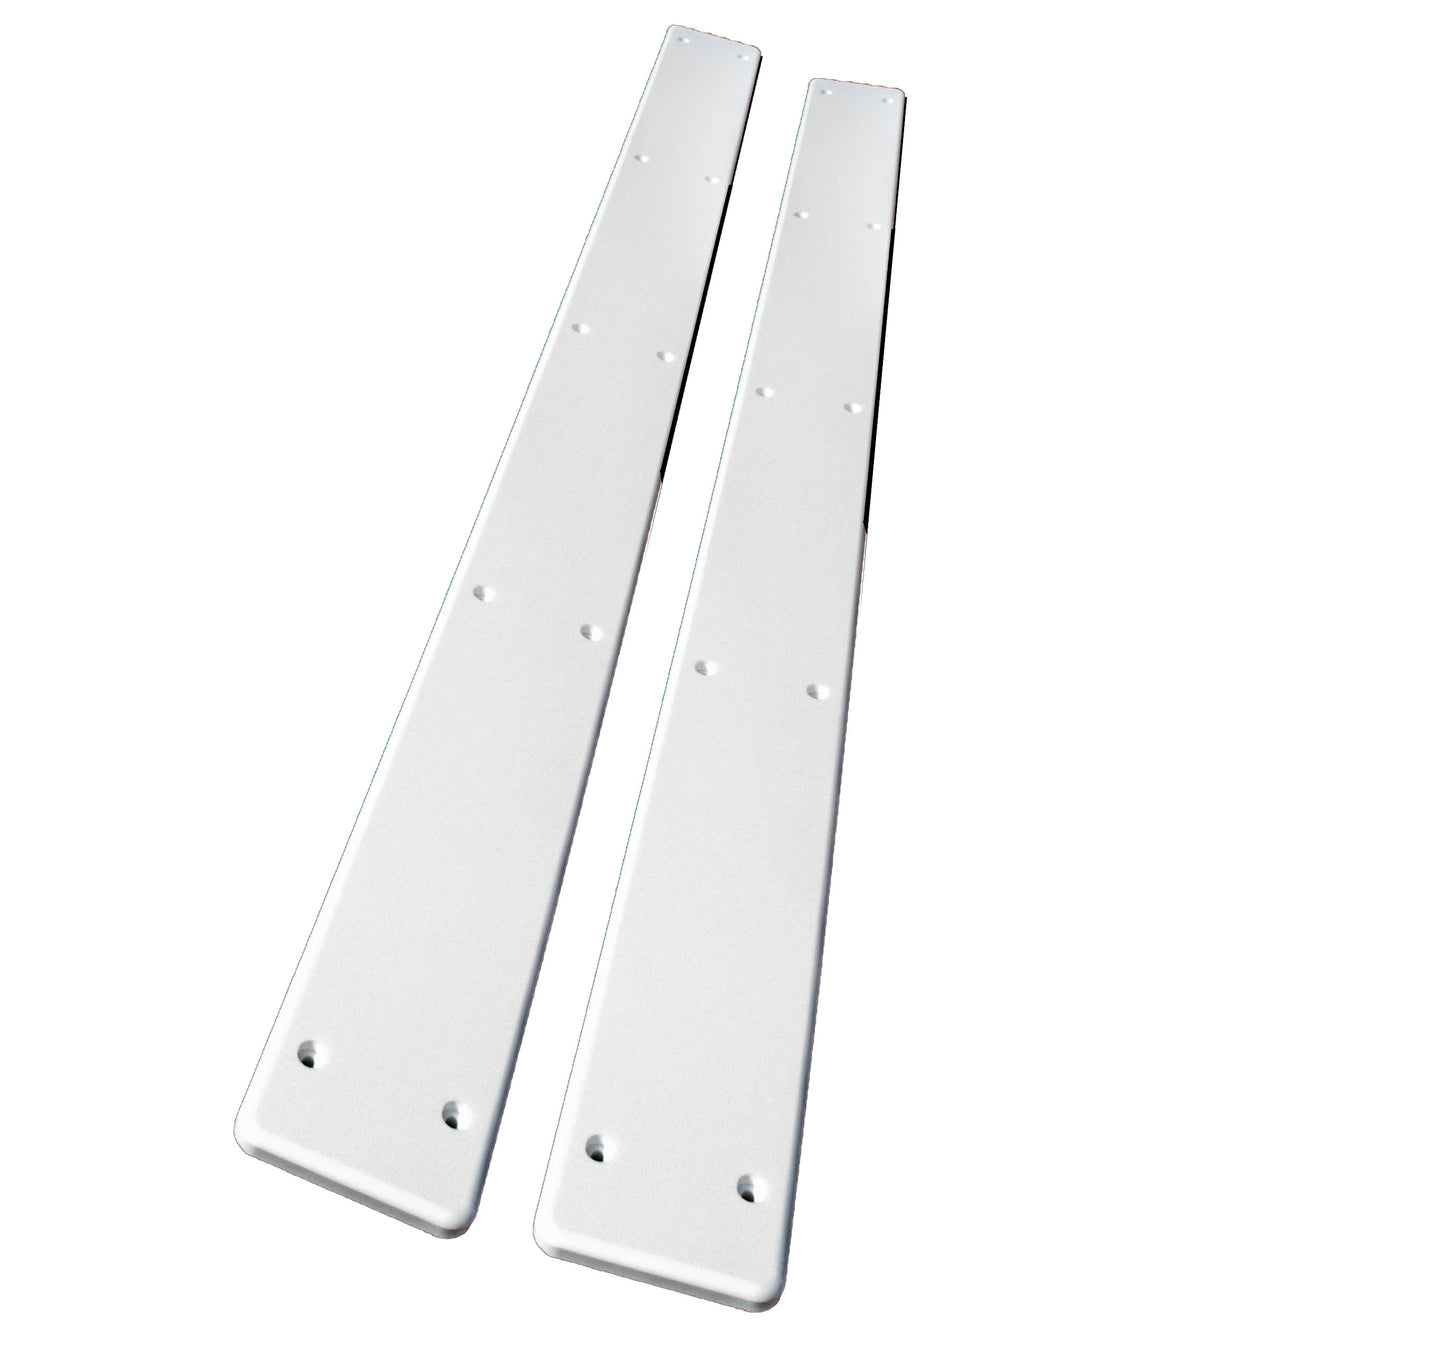
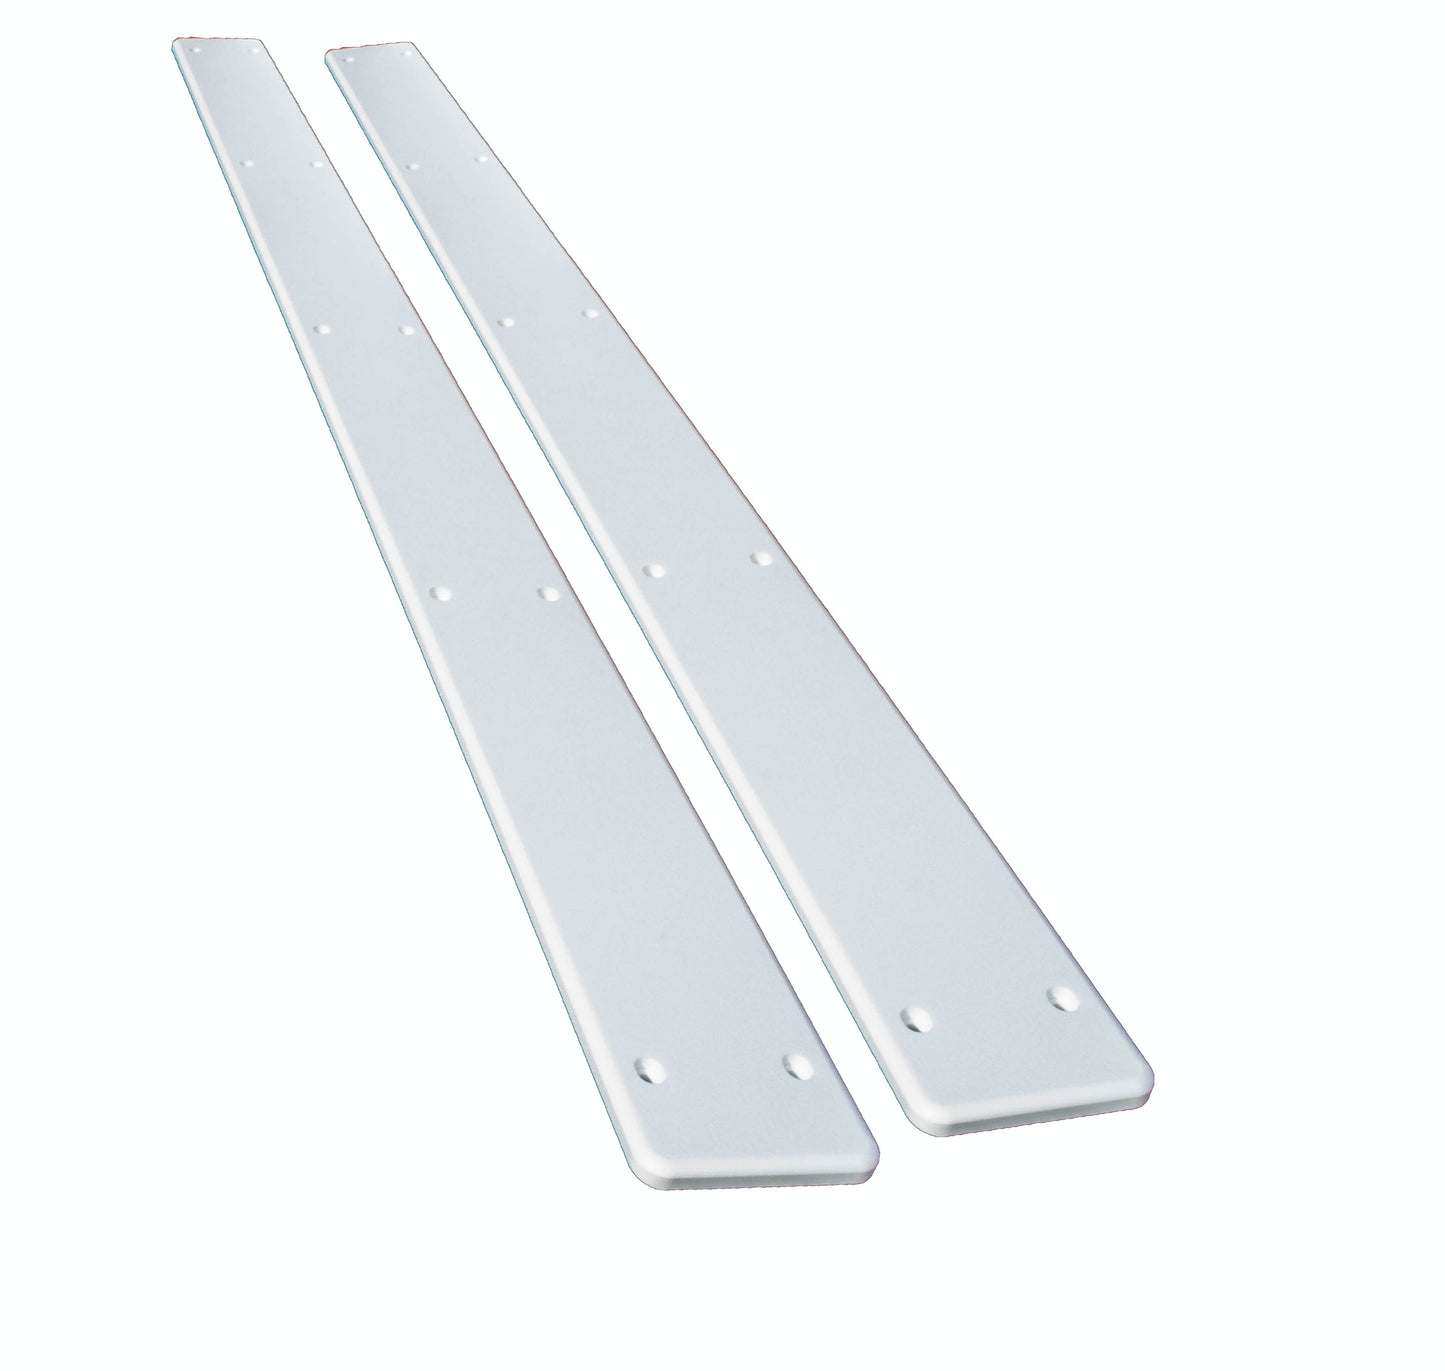
Glides are 1/2-inch-thick SOLID white, marine grade polymer allowing for easy spotting of sand and road dirt. No hidden hollow spots or voids to cave in and scrape the watercraft common to injection molded pieces.
Smooth flat wide surface spreads the weight of the hull making it easier on the finish. No uneven pressure points seen with rollers and cost saving ribbed extruded slides.
Apply bunk glides directly on wood bunks or over worn carpet with supplied stainless-steel hardware. No flathead screws are used that can slip out and damage the hull.
Counter-bored slotted pockets 1/4" deep keeps the screw head safely away from the craft and provides for temperature movement that is excessive with black material.
The selected HDPE material provides a barrier to wet corrosive carpeted pressure treated wood bunks.
Easy to cut and drill with common working tools.
When the water is low, bunk glides still make it workable.
Trailer slides are unaffected by sun, weather or sea water.
INSTALLATION GUIDE
TOOLS NEEDED:
Battery Charged Drill Motor
1/8” Wood Drill Bit,
# 2 Phillips Head Driver Bit
Procedure:
Examine your bunks for signs of wear, cracking, splintering or rot.
Replace bunk boards in question. Surfix glides must be supported.
Smooth out, replace or discard worn carpet. Surfix glides can be installed directly on the wooden bunk or over the carpet.
Start the first glide with the end edge flush with the rear most edge of the bunk. Center the glide on the bunk and space the glides the length of the area in contact with the hull. You may leave a space of up to 6 inches between glides.
Using the glides as a template, drill a 1/8” pilot hole for each screw through the mounting hole. Replace the drill bit with the Phillips #2 driver and set the drill on a low torque setting.
Drive each screw through the glide mounting pocket into each pilot hole until each screw firmly embraces the glide. DO NOT USE COUNTER SINK SCREWS.